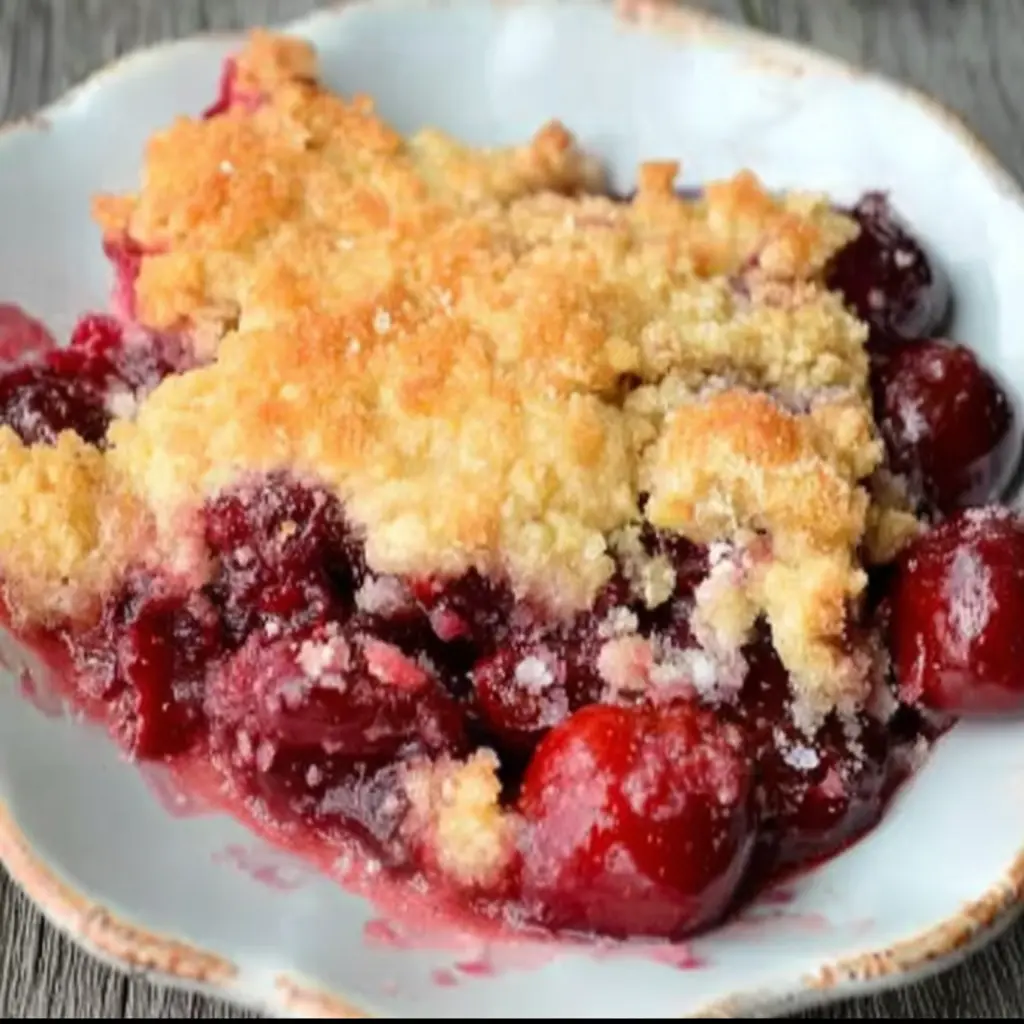
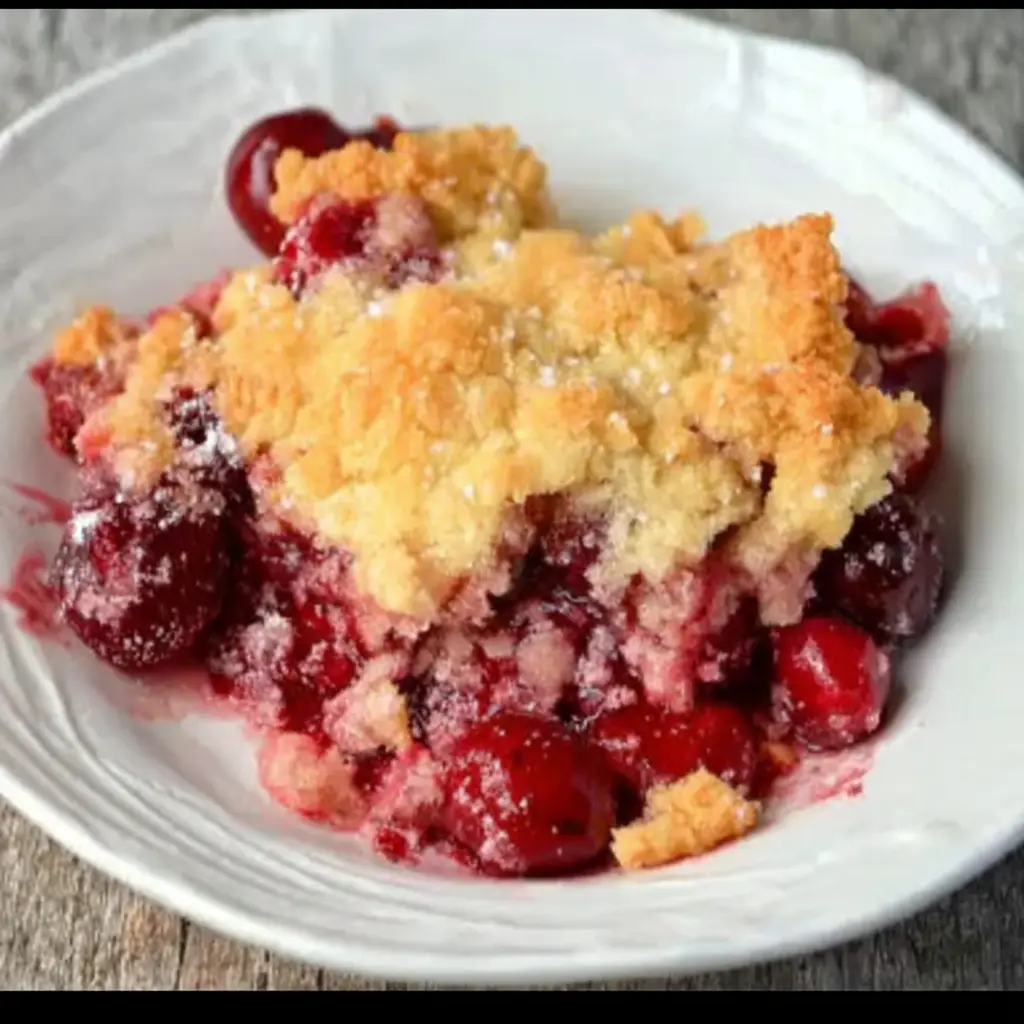
Hi there, I’m Lina Vexley! For as long as I can remember, some of my happiest moments have been in the kitchen, surrounded by my favorite ingredients and the laughter of my family. Cooking has always been more than just preparing meals—it’s a way to share joy and love. One of the desserts that always brings a smile to my daughter’s face is Easy Cherry Crisp. This dish brings a sense of comfort with its sweet cherries and crunchy topping, making it a perfect treat for any time of year. Let me share this recipe with you—it’s simple, heartwarming, and full of memories.

Table of Contents
The Charm of Cherry Crisp in My Kitchen
Why Cherries Are So Special
There’s something magical about cherries. They remind me of the summer days spent picking fruit from the garden with my little one, and that’s why I love using them in desserts like this Easy Cherry Crisp. The beauty of cherry-based desserts lies in their ability to combine sweetness with a hint of tartness, creating a flavor that is as vibrant as it is delicious.
When you layer those juicy cherries and top them with a buttery, crisp topping, it’s like a sweet hug for your taste buds. I love that cherries can be enjoyed fresh or frozen, meaning you can make this dessert any time of the year. It’s perfect for cozy nights at home or when you have friends and family over to share the love through food.
The Simplicity Behind Easy Cherry Crisp
As much as I enjoy experimenting with complex recipes, sometimes simplicity is the secret ingredient to making a dish truly special. That’s what I love about Easy Cherry Crisp. It’s one of those recipes that requires only a few basic ingredients: fresh or frozen cherries, oats, sugar, butter, and flour. No need for complicated steps, just good, honest ingredients.
And when I bake it, the aroma of the warm, crispy topping mixed with the sweet cherries fills my home, reminding me that food tastes better when it’s made with love. Whether I’m making it for my daughter or for a gathering with friends, this dessert never fails to bring a sense of happiness.

Easy Cherry Crisp: A Simple, Delicious Dessert Recipe
Ingredients
- 1 cup flour
- 1 1/4 cups sugar
- 1 teaspoon baking powder
- 3/4 teaspoon salt
- 1 unbeaten egg
- 1/3 cup butter melted
Instructions
- Preheat the Oven: Set your oven to 350°F (175°C).
- Prepare the Cherries: In a bowl, mix the cherries with 1/4 cup sugar, reserving the remaining 1 cup of sugar for later.
- Transfer to Pan: Pour the cherry mixture into a greased 8×8-inch baking dish.
- Make the Topping: In a separate bowl, combine the flour, the remaining 1 cup sugar, baking powder, salt, and the unbeaten egg. Stir until the mixture is well blended and crumbly.
- Top the Cherries: Sprinkle the crumbly mixture evenly over the cherries.
- Add Butter: Pour the melted butter over the topping.
- Bake: Place the pan in the preheated oven and bake for 30 to 40 minutes, or until the topping is golden brown and the cherries are bubbling.
Notes
Nutrition
Making Easy Cherry Crisp with Love
One of the reasons I love making Easy Cherry Crisp is because it’s a simple recipe that allows the natural flavors of the cherries to shine through while being easy to prepare. Here’s how you can make it with a few basic ingredients, including 5 to 6 cups of fresh or frozen cherries.
Ingredients You’ll Need
To start, gather these ingredients:
- 5 to 6 cups of cherries (fresh or frozen), washed and pitted
- 1 cup of flour
- 1 1/4 cups of sugar
- 1 teaspoon of baking powder
- 3/4 teaspoon of salt
- 1 unbeaten egg
- 1/3 cup of butter
These ingredients come together to create an Easy Cherry Crisp that’s sweet, buttery, and full of vibrant cherry flavor. What I love about this recipe is that you can use whatever cherries you have available—whether it’s fresh from the garden or frozen from a previous harvest.
Simple Steps for a Heartwarming Cherry Crisp
- Prepare the cherries: Start by cleaning and removing the pits from your cherries. Fresh cherries are great for this, but frozen cherries work perfectly too. Just make sure to thaw them slightly and drain off any excess liquid.
- Make the filling: Once your cherries are ready, place them in a baking dish. Sprinkle 1/4 cup of sugar over the top to enhance the sweetness of the cherries and give them a bit of syrupy goodness when they bake.
- Prepare the topping: In a separate bowl, combine 1 cup of flour, 1 cup of sugar, 1 teaspoon of baking powder, and 3/4 teaspoon of salt. Stir them together before adding the unbeaten egg and 1/3 cup of softened butter. Mix until it forms a crumbly, dough-like texture. This will be your topping.
- Assemble: Spoon the topping over the cherries, covering them as evenly as possible. There is no reason to be concerned with achieving perfection—this dessert embodies rustic charm.
- Bake: Pop the cherry crisp into a preheated oven at 350°F (175°C). Bake for about 45 minutes or until the topping is golden brown and the cherries are bubbling up beneath. The crispiness of the topping and the sweet, juicy filling are truly what make this dish special.
And just like that, you’ve made a delicious Easy Cherry Crisp with love! The best part is sharing it with loved ones, knowing that every bite was made with care. Whether you serve it with a scoop of vanilla ice cream or on its own, this dessert will bring joy to every meal.

Serving and Storing Your Cherry Crisp
How to Serve Your Cherry Crisp
Once your Easy Cherry Crisp is ready, it’s time to dig in! I enjoy serving it warm alongside a scoop of vanilla ice cream or a dollop of freshly whipped cream on top. The combination of warm cherries and a crispy topping, complemented by creamy ice cream, is simply ideal. If you want to elevate it even further, drizzle some caramel sauce or sprinkle a few toasted nuts on top for an extra layer of flavor and texture.
It’s a dessert that feels like a warm embrace, no matter the occasion. Whether it’s just the two of us enjoying a quiet night or a gathering of family and friends, this crisp is always a hit.
Storing Leftovers
If there are any leftovers (though that’s rare in our house), you can store your Easy Cherry Crisp in an airtight container in the fridge for up to four days. To reheat, pop it in the oven for a few minutes until the topping crisps up again. You can also microwave individual servings for a quick, cozy treat.
Creative Variations and Tips for the Best Cherry Crisp
Experimenting with Different Fruits
I love that Easy Cherry Crisp is so versatile. While cherries are the star, feel free to mix things up. If you have other fruits in season, like peaches or raspberries, add them in for a fun twist. You could even make a mixed berry crisp or go for a tropical version with pineapple and mango. The possibilities are endless, and each variation offers a new and exciting flavor profile to explore.
Healthier Substitutions for a Lighter Crisp
If you’re looking to make your Easy Cherry Crisp a bit healthier, you can easily swap out a few ingredients. Try using whole wheat flour for the topping to add some extra fiber, or substitute the butter with coconut oil or applesauce for a lighter version. You can also reduce the sugar amount without compromising the flavor, as the cherries themselves provide plenty of natural sweetness.
Conclusion
Easy Cherry Crisp is a dessert that captures the true essence of comfort and simplicity. With merely a handful of fundamental ingredients—cherries, flour, butter, and a sprinkle of affection—it transforms into something genuinely remarkable. Whether you’re using fresh cherries from your backyard or frozen ones tucked away in your pantry, this crisp is sure to bring warmth and joy to any table. It’s the kind of dessert that brings family and friends together, creating memories with every bite.
So, the next time you’re craving something sweet and satisfying, whip up this cherry crisp. It’s simple, delicious, and made with love—because that’s what truly makes a meal unforgettable.
FAQs
What is the difference between cherry crisp and cherry cobbler?
The primary distinction between cherry crisp and cherry cobbler is found in their toppings. Cherry crisp is characterized by a crunchy topping made from oats, which bakes to a golden, crispy finish. Conversely, cherry cobbler usually has a topping that resembles biscuits or cake, resulting in a soft and fluffy texture. While both desserts are delightful, it is the texture of the topping that differentiates them.
How do you make a cherry crumble?
Making a cherry crumble is very similar to making a cherry crisp. The key difference is in the topping. For a cherry crumble, you’ll combine flour, butter, sugar, and a pinch of salt, but without oats. Simply crumble the mixture over the cherries before baking, and you’ll have a delicious dessert with a slightly different texture than a crisp.
Does cherry crisp need to be refrigerated?
Yes, Easy Cherry Crisp should be refrigerated if you have leftovers. Store it in an airtight container for up to 3–4 days. When you’re ready to enjoy your crisp again, you can reheat it in the oven to bring back that crispy topping, or microwave individual servings for a quick and easy treat.
What can I make with fresh-picked cherries?
Fresh-picked cherries are perfect for all kinds of treats! You can use them to make pies, tarts, jams, or even as a topping for yogurt or salads. Of course, Easy Cherry Crisp is one of the easiest and most delicious ways to enjoy fresh cherries, but don’t hesitate to get creative and experiment with other recipes.
