If you’re craving something simple, sweet, and bursting with flavor, cherry crisp is your go-to dessert. It’s got the warmth of summer packed into every spoonful. In this article, we’ll explore the secrets of making the perfect cherry crisp—from my own kitchen memories to baking tips and the best topping ever. You’ll also learn how it differs from cobblers, whether it needs to be refrigerated, and what makes it so irresistibly good. Whether you’re new to baking or just want something foolproof and delightful, this cherry crisp guide will have you serving up joy in no time.

Table of Contents
My Sweetest Summer Memory with Cherry Crisp
How Cherry Crisp Became My Signature Dessert
The first time I made cherry crisp, it was a golden July afternoon. My daughter had just helped me pit a bowlful of fresh cherries—her fingers stained red, her giggles louder than the summer cicadas. I remember the smell as the crisp baked—warm sugar, tart cherries, and toasted oats blending in a way that just smelled like home. That day, cherry crisp wasn’t just dessert; it was our afternoon ritual. Since then, it’s become my go-to recipe whenever I want something nostalgic yet quick.
The Irresistible Flavor That Sets Cherry Crisp Apart
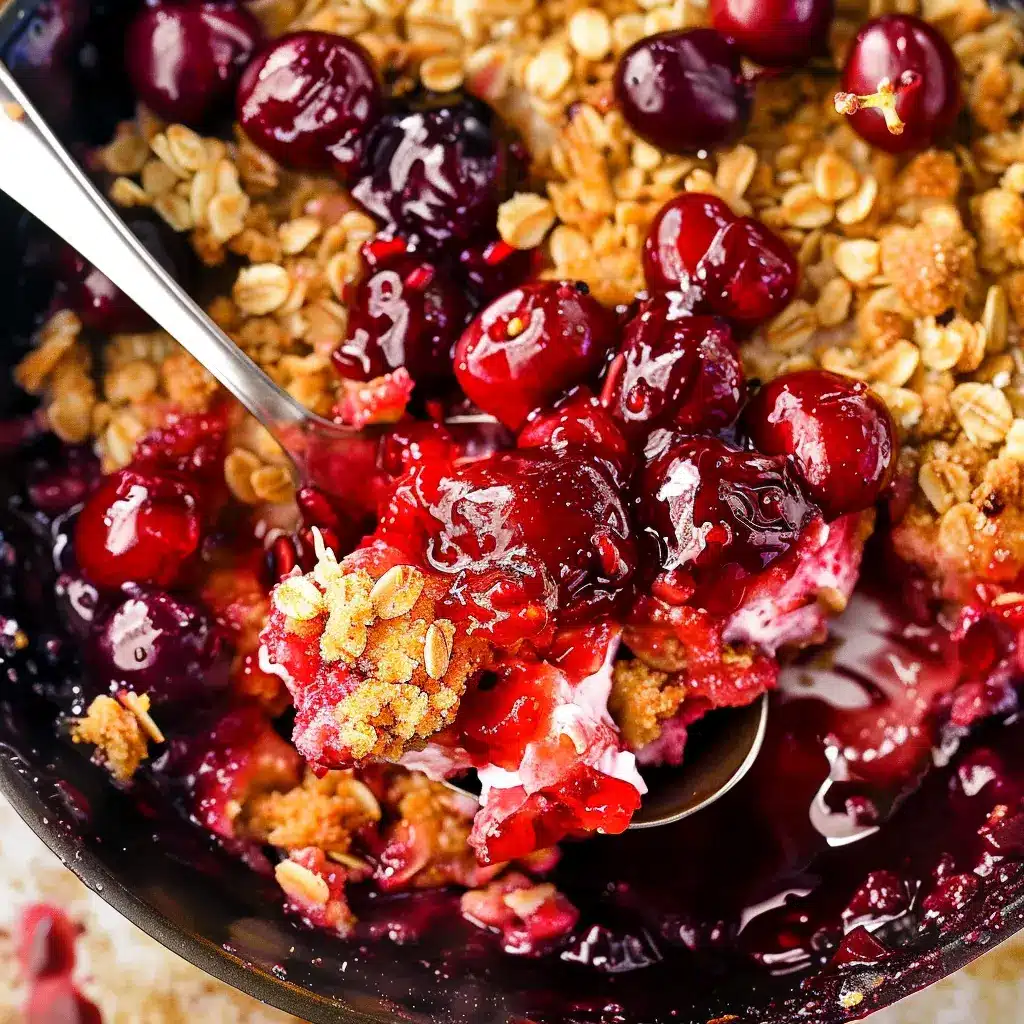
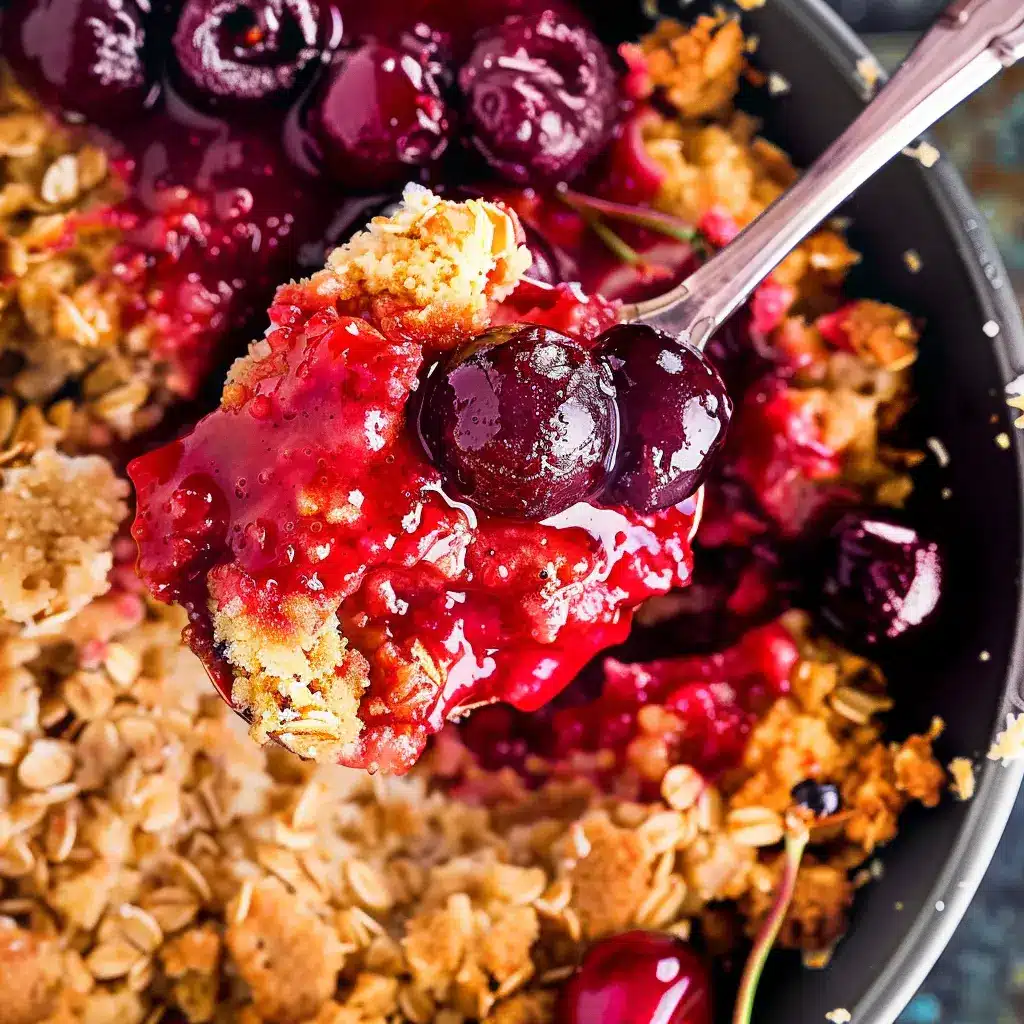
What makes cherry crisp so special is the balance—juicy, slightly tart cherries bubbling beneath a buttery, golden crisp topping. Unlike a cake or pie, it’s rustic and relaxed. You don’t need a perfect crust. Just spoon it warm into a bowl and top with vanilla ice cream. I like using fresh cherries during peak season, but frozen works beautifully too. It’s also naturally adaptable for different dietary needs.
Foolproof Cherry Crisp Recipe Everyone Can Make
Ingredients You Need for a Classic Cherry Crisp
Making a cherry crisp from scratch is easier than most people think. This recipe uses a handful of pantry staples and gives you a dessert that’s warm, jammy, and topped with golden crunch. You’ll need around 5 cups of cherries—fresh, frozen, or even canned. Fresh cherries give the most vibrant flavor, but frozen work well too, especially in off-season months. If using canned cherries, strain and adjust sugar levels based on whether the juice is sweetened.

Cherry Crisp Recipe: Easy, Fresh, and Delicious Homemade Dessert
Ingredients
- For the filling
- 5 cups cherries pitted (fresh, frozen, or canned)
- 2 tablespoons brown sugar
- 2 tablespoons white sugar
- 1 teaspoon vanilla extract
- 2 tablespoons cornstarch
- 3 tablespoons water or more if needed
- 2 tablespoons lemon juice adjust to taste
- For the topping
- ½ cup all-purpose flour
- ½ cup quick-cooking oats
- ½ cup brown sugar
- ½ teaspoon ground cinnamon
- ¼ teaspoon salt
- 4 tablespoons cold unsalted butter diced
Instructions
- Butter a 9-inch dish and preheat oven to 360°F.
- Place cherries in a wide pan with sugars and vanilla. Bring to a boil, then simmer for 5 minutes.
- Remove from heat. Mix cornstarch with water and stir into cherries. Return to low heat to thicken.
- Add lemon juice. Adjust water or cornstarch as needed. Spread into baking dish and cool 30 minutes.
- Mix topping ingredients. Rub in cold butter until crumbly.
- Scatter topping evenly over cherry filling.
- Bake for 20–25 minutes until golden and bubbly.
- Cool 30 minutes before serving. Optional: top with ice cream.
Notes
Nutrition
The filling is flavored with a mix of brown sugar, white sugar, vanilla extract, lemon juice, and cornstarch for thickening. For the topping, mix flour, oats, brown sugar, cinnamon, salt, and cold diced butter. I always recommend quick-cooking oats here—they bind the crumble better and deliver that bakery-style topping we all crave.
Here’s a quick summary in table form:
| Component | Ingredients |
|---|---|
| Filling | Cherries, sugars, vanilla, cornstarch, lemon juice |
| Topping | Flour, oats, brown sugar, cinnamon, salt, butter |
Step-by-Step Instructions for Baking It Right
Start by buttering a 9-inch pie dish or square baking pan. Preheat the oven to 360°F. In a wide pan, cook the cherries with both sugars and vanilla until they release their juices and begin to soften. After allowing it to simmer, combine cornstarch and water to create a smooth slurry, then incorporate it into the cherries and continue to simmer until the mixture thickens. Add lemon juice and taste the mixture—make adjustments to the sugar and consistency as necessary. Spread the filling in the prepared dish and let it cool for 30 minutes.
While the filling cools, mix the topping. Rub the butter into the dry mix until you get small crumbs. Sprinkle it evenly over the cherries and bake for 20–25 minutes until golden and bubbling. Let the crisp cool on a rack for at least 30 minutes. Serve warm with vanilla ice cream or a spoonful of Greek yogurt. For another comforting twist, try pairing it with a creamy base from my dairy-free treat ideas.

Toppings, Storage & Reheating Secrets for Cherry Crisp
Crisp Topping Variations That Add a Twist
The topping on a cherry crisp is where creativity shines. While the classic combo of oats, flour, butter, and brown sugar never fails, small tweaks can elevate the entire dish. Try mixing in chopped nuts like pecans or almonds for extra crunch. A handful of shredded coconut adds a subtle sweetness and chewy texture. For a fall-inspired version, stir in ground ginger or nutmeg alongside cinnamon. If you’re short on butter, melted coconut oil can work too, though the texture will be slightly softer.
You can also make the topping ahead and freeze it for future batches. I like to prep a double batch and store half in a zip-top bag. That way, whenever I bake a crisp—whether it’s cherry, peach, or blueberry—I’ve got a shortcut ready to go. This flexibility makes cherry crisp one of the easiest batch-friendly desserts to prep for gatherings or weeknight cravings.
How to Store and Reheat Cherry Crisp
Once your cherry crisp has cooled, you can store it covered at room temperature for up to 24 hours. After that, move it to the fridge where it’ll keep well for up to 3 days. I usually just cover the dish with foil or transfer leftovers into an airtight container. It’s still delicious chilled, but if you want that just-baked texture, reheat it at 350°F for 5 to 10 minutes.
Avoid microwaving it if you want to preserve the topping’s crispiness—heat gently in the oven instead. If you’re storing individual portions, reheat them uncovered in small ramekins. This trick also works well when you serve it alongside my weeknight dinner recipes—an easy dessert that doesn’t take over your kitchen.
For longer storage, freeze your cherry crisp in a freezer-safe dish after baking and cooling completely. Reheat straight from frozen at 350°F for 30 minutes, tenting with foil if needed to avoid over-browning the top.
Conclusion: A Crisp Worth Sharing
Cherry crisp is the kind of dessert that brings people together. It’s unfussy, bursting with flavor, and easy enough to whip up even on a weekday. Whether you’re baking it with your kids on a summer afternoon or serving it warm at a dinner party, cherry crisp always delivers. I hope this recipe brings as much joy to your table as it does to mine. Now you’ve got the steps, the tips, and the inspiration—go ahead and make your own sweet, jammy, golden-topped creation. Because sometimes, the simplest desserts become the most memorable.
FAQs About Cherry Crisp
What is the difference between cherry crisp and cherry cobbler?
Though both desserts feature baked fruit and a topping, the difference lies in the texture and type of that topping. Cherry crisp uses a crumbly mix of oats, flour, sugar, and butter—it’s crunchy and golden once baked. A cherry cobbler, however, has a softer, biscuit-like topping that bakes into the fruit like a cake or scone. If you’re more into crunchy textures, go with crisp. But if soft and fluffy is your thing, a cobbler might be more your style. Either way, both desserts are popular in American-style comfort baking.
What is the perfect tree cherry crisp?
“Tree cherry” refers to cherries picked fresh from a cherry tree—not the canned or jarred kind. The perfect cherry crisp from fresh cherries starts with ripe, sweet (or slightly tart) tree-picked fruit, simmered just until soft and thickened. From there, a buttery crisp topping goes over and bakes to golden perfection. The secret is balancing the natural tartness with just enough sweetness in both the filling and the topping. This approach is similar to how I balance flavor in my fresh fruit-forward recipes.
What is crisp topping made of?
The basic crisp topping is a mix of dry ingredients—flour, oats, brown sugar, cinnamon, and a pinch of salt—combined with cold, diced butter. As the butter melts in the oven, it creates a crumbly, golden layer over the fruit. You can enhance it with add-ins like chopped nuts or spices, depending on your preferences. Quick-cooking oats are ideal, as they hold the topping together better than old-fashioned oats. This same topping is often used in various crumble desserts.
Should I refrigerate cherry crisp?
Yes, after the first day. While cherry crisp can be stored covered at room temperature for about 24 hours, you should refrigerate it after that to keep it fresh. Store it in an airtight container or cover the baking dish tightly. It will last up to 3 days in the fridge. Reheat at 350°F for 5–10 minutes to revive the crisp topping. For more tips on keeping desserts fresh, check out my dessert storage hacks.
